
How To Shoot And Edit An Engaging Interview
Done correctly, an interview can be a great way to profile a person of interest or get a convincing testimonial about a product or service. However, done incorrectly, an interview can be dry, ineffective, and uncomfortable to watch. Here are some tips for shooting and editing engaging interviews.
Shooting
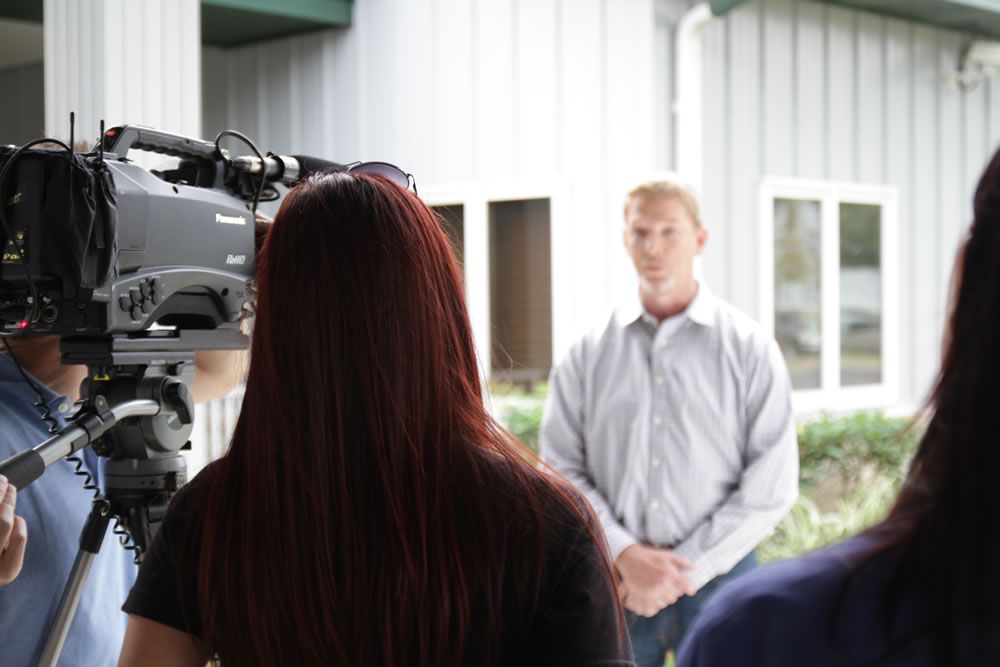
When shooting the interview, imagine two vertical lines dividing the screen into thirds and place your subject in the middle of the line on the right. This is known as the rule of thirds, and is essential in composing a quality image.
When interviewing, stand slightly left of the camera and direct the subject to look at you, not the camera. When an interviewee stares directly into the camera, it makes the audience uncomfortable and makes you, the videographer, seem unprofessional.
Advise the subject to repeat questions in some way before answering. This will give context in the final edit.
Make sure to use an external mic of some kind, as audio is the focus of an interview. If you’re lighting the interview, use three point lighting, and always remember to backlight your subject. This often overlooked step gives your shot the three-dimensional look it needs and separates the pros from the amateurs.
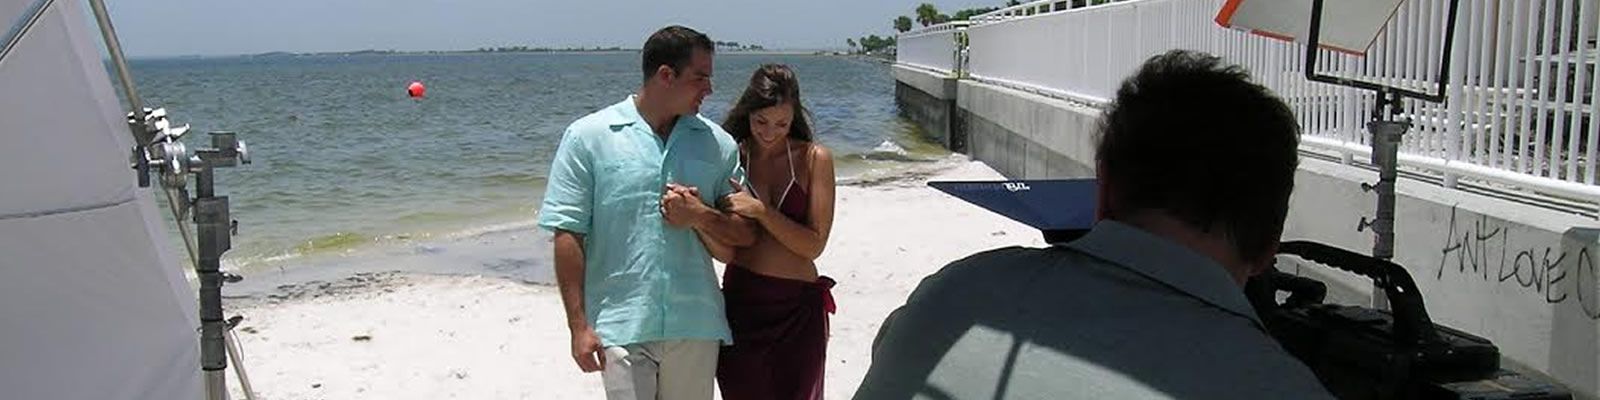
If you’re shooting B-roll involving your subject, try shooting that on a separate day than the interview, so your subject doesn’t feel too fatigued.
Editing
The first step in editing an interview should always be cutting out the interviewer’s questions, so the package can focus exclusively on the interviewee’s answers. Then go through the subject’s answers and cut out any ramblings, excessive “um’s,” and trim the interview to just the segments that serve to tell the narrative you’re focusing on.
Try to keep each cut a decent length, because stringing a bunch of short clips together can seem excessively jumpy.
Most professional packages utilize B-roll, shots other than of the main interview, to eliminate jump cuts and make the film more visually interesting. If you have B-roll, make sure it relates to what the interview is covering at that point in the video.
If you don’t have B-roll, each cut will inevitably be a jump cut. To make the transitions less jarring to the audience, play around with the zoom. Zooming in or out slightly when you get to a new cut alerts the audience that they’re looking at something new and makes it seem like less of an error. To do this in Adobe Premiere, select the clip, go to Effect Controls, hover over Scale, and drag the number left or right to zoom out or in, respectively.
One last common issue you may run into when editing interview clips together is an audio issue where you may hear a pop or click sound on the transition between cuts. To fix this in Premiere, right click the transition line between the clips and click “Apply Default Transitions” in the drop down menu. This will put a Cross Dissolve on the footage and a Constant Power Fade on the audio. Delete the Cross Dissolve, and drag the Constant Power Fade to as small as it can be as to not cut out the audio you want to hear. This should eliminate the pop/click and ensure a smooth transition between cuts.
Find some royalty free music that fits your subject’s personality, throw that in, and you should have the perfect interview!
